Evaluating a hypothesis on Gillingham FC
This article records a coaching process rather than a fixed conclusion: an initial hypothesis based on observed patterns, an evaluation of where the hypothesis was correct and where it was incomplete, then an updated hypothesis to carry into the next game. The hypothesis on Gillingham was based on recent games v Chesterfield (A) and Oldham Athletic (H). The game in question to test the hypothesis was Gillingham v Swindon Town on 17/03/2025
This process is based on my role as a coach when preparing for the next opponent, as this way I can evaluate everything after the game, not just the hypothesis itself but also training preparation. In summary - did I prepare my team correctly?
In my role as a coach, every game starts with a hypothesis. We observe the opponent, identify patterns, and prepare accordingly — then the match tests whether that preparation is correct. Based on watching Gillingham in recent matches, this was my hypothesis going into the game against Swindon.
Initial hypothesis
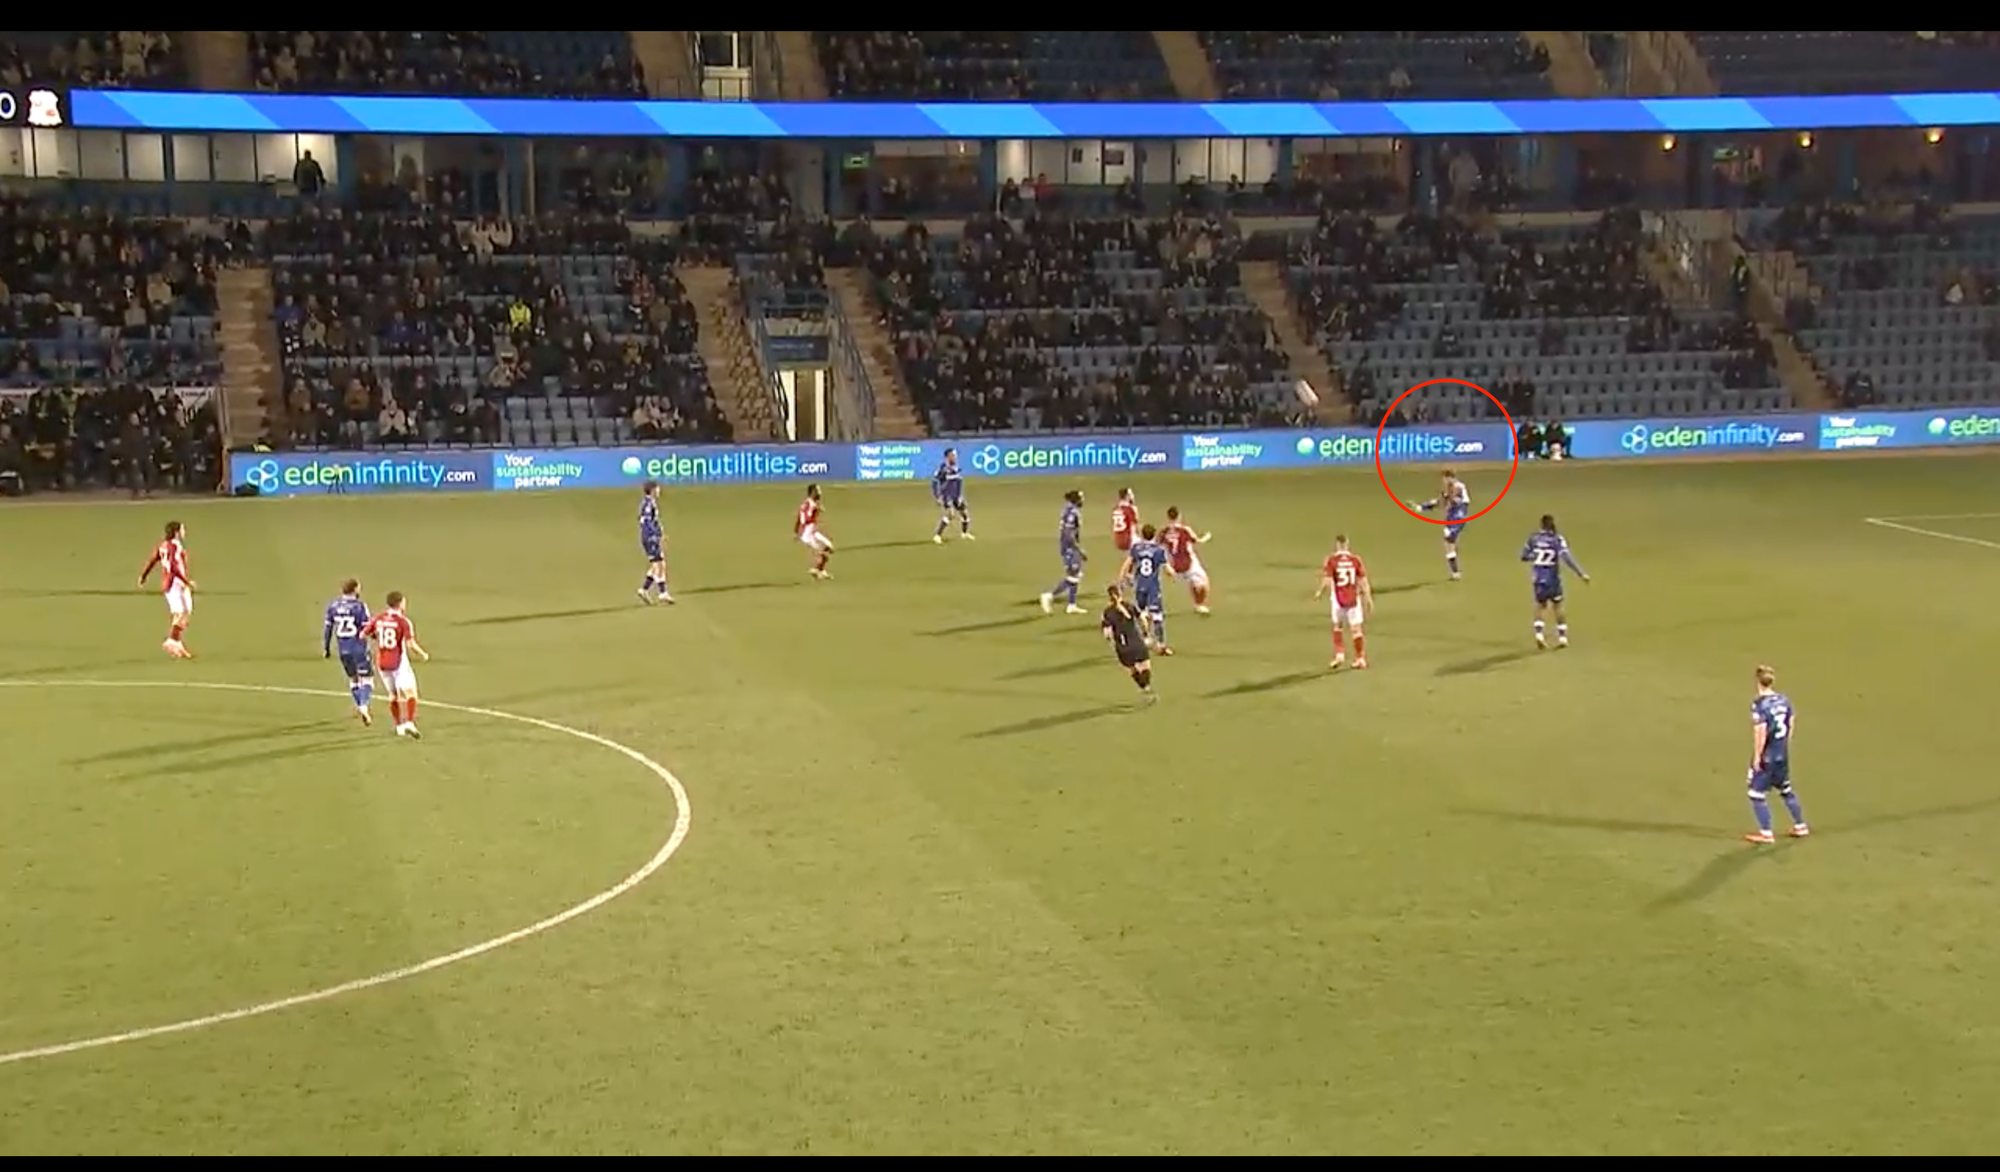
Attacking - Regardless of formation, Gillingham's style appears consistent.They look to play longer passes early, aiming to get in behind the opposition back line with one action. A repeated attacking pattern for example (when Gillingham play with 4 defenders): GK → Right CB → Right Back (Hutton) → long pass in behind the opponents back line. The effectiveness of this depends on the striker. If Vokes plays, he is often too far away to realistically get on the end of these passes.
If Andrews plays, play becomes more central and direct from deeper areas, relying on him to win aerial duels. Chesterfield dealt with this by dropping their back line and picking up second balls, allowing Andrews to complete the football action progressing the ball forward with a header (flick on).
Key player in attack: Bradley Dack is their most important player. When he drops deeper, he sees more of the ball — possibly out of frustration to influence the game. However, he is less dangerous from deeper areas than when he operates higher as a number 10.
Transitions: When Gillingham lose the ball, they can be left 1v1 defensively. This is most evident from crosses into the opposition box, clearances, or when the goalkeeper claims and distributes quickly.
Defending: Gillingham look to protect central areas and force play wide. As result, they can become overloaded in wide areas, leading to entries into their penalty box. They also appear to struggle defending their box, both in open play and from set plays, with players getting free or players left unmarked.
Preparation: This hypothesis would shape my preparation. I would create the clips, deliver the key messages, and design the training to align with both the opponent and our way of playing. The game will show whether that preparation is correct or not.
Initial Evaluation of the Hypothesis
The most important evaluation point is not whether every detail was right or wrong. The biggest issue is that the original version was too one-sided. It concentrated on where Gillingham might be vulnerable, but it did not give enough weight to what Gillingham are actually effective at.
That matters because opposition preparation should not only ask, “Where can this team be exposed?” It must also ask, “What do we have to control because this team can expose us here?”
The original hypothesis underplayed Gillingham’s threat from set plays, especially corners and long throws from both sides of the pitch.
It also underplayed how cross-heavy they are. In this game (v Swindon) they delivered 26 crosses into the box, even though only 5 were completed. The volume itself is a major part of the threat.
It did not sufficiently account for striker Ronan Hale as a key individual threat from the left side, where he can expose space behind the opponents back line and also cut inside onto his right foot to shoot.
So the correction after the game is clear: future hypotheses need to balance weaknesses with strengths and make sure the opponent’s biggest attacking weapons are not treated as an afterthought.
Evaluation of the Hypothesis with Evidence
The following sections evaluate the original hypothesis against the evidence and notes gathered from the match
A. Early long passes remain a clear and repeated pattern
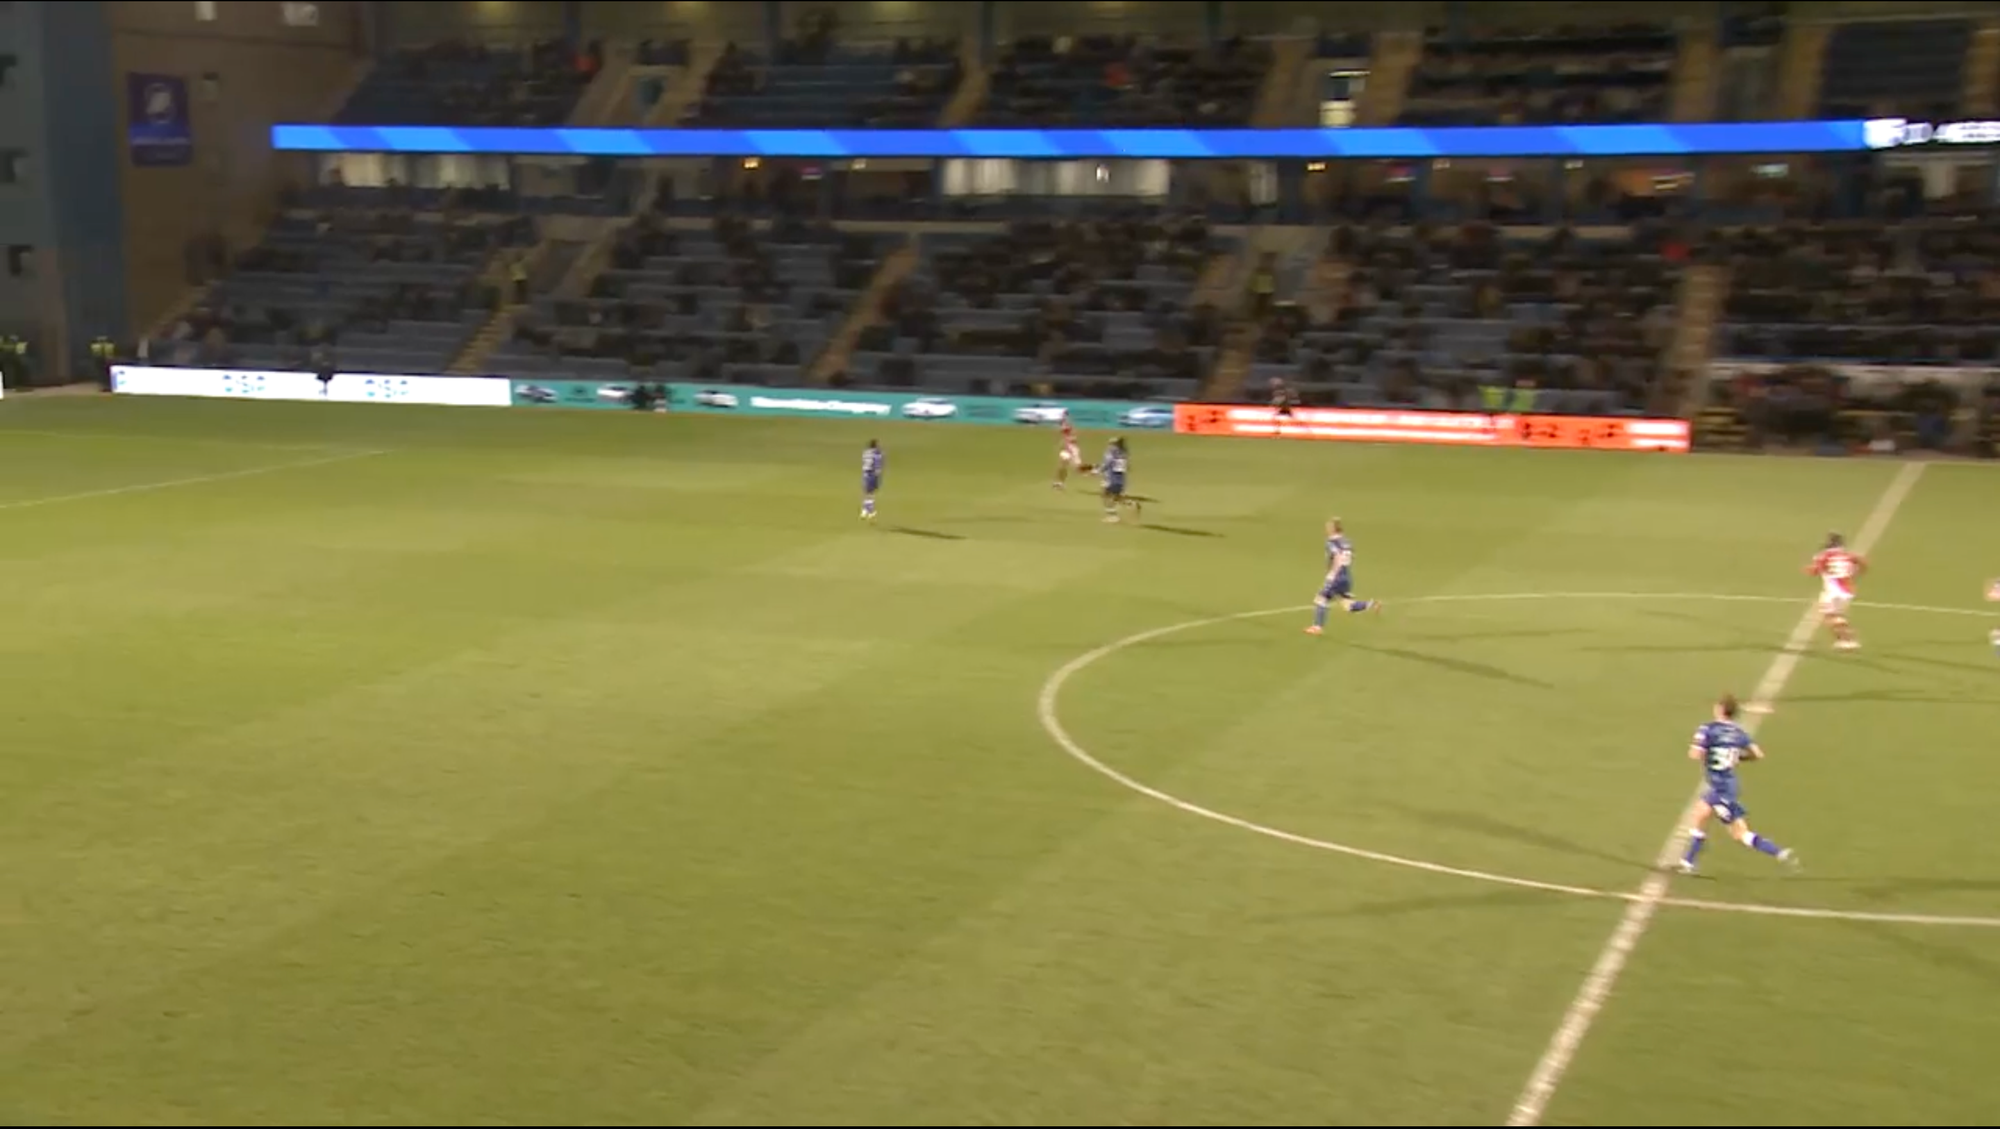
This part of the hypothesis was supported. Gillingham showed an intention to play forward early even when the player on the ball was under no immediate pressure. That is important because it suggests the longer pass is not only an emergency action under pressure; it is a deliberate attacking choice - however the team intention is unclear as we don’t know if the team intention is to play in behind the opponent back line or their midfield line. It could also just be a low risk/kick the ball forward strategy.
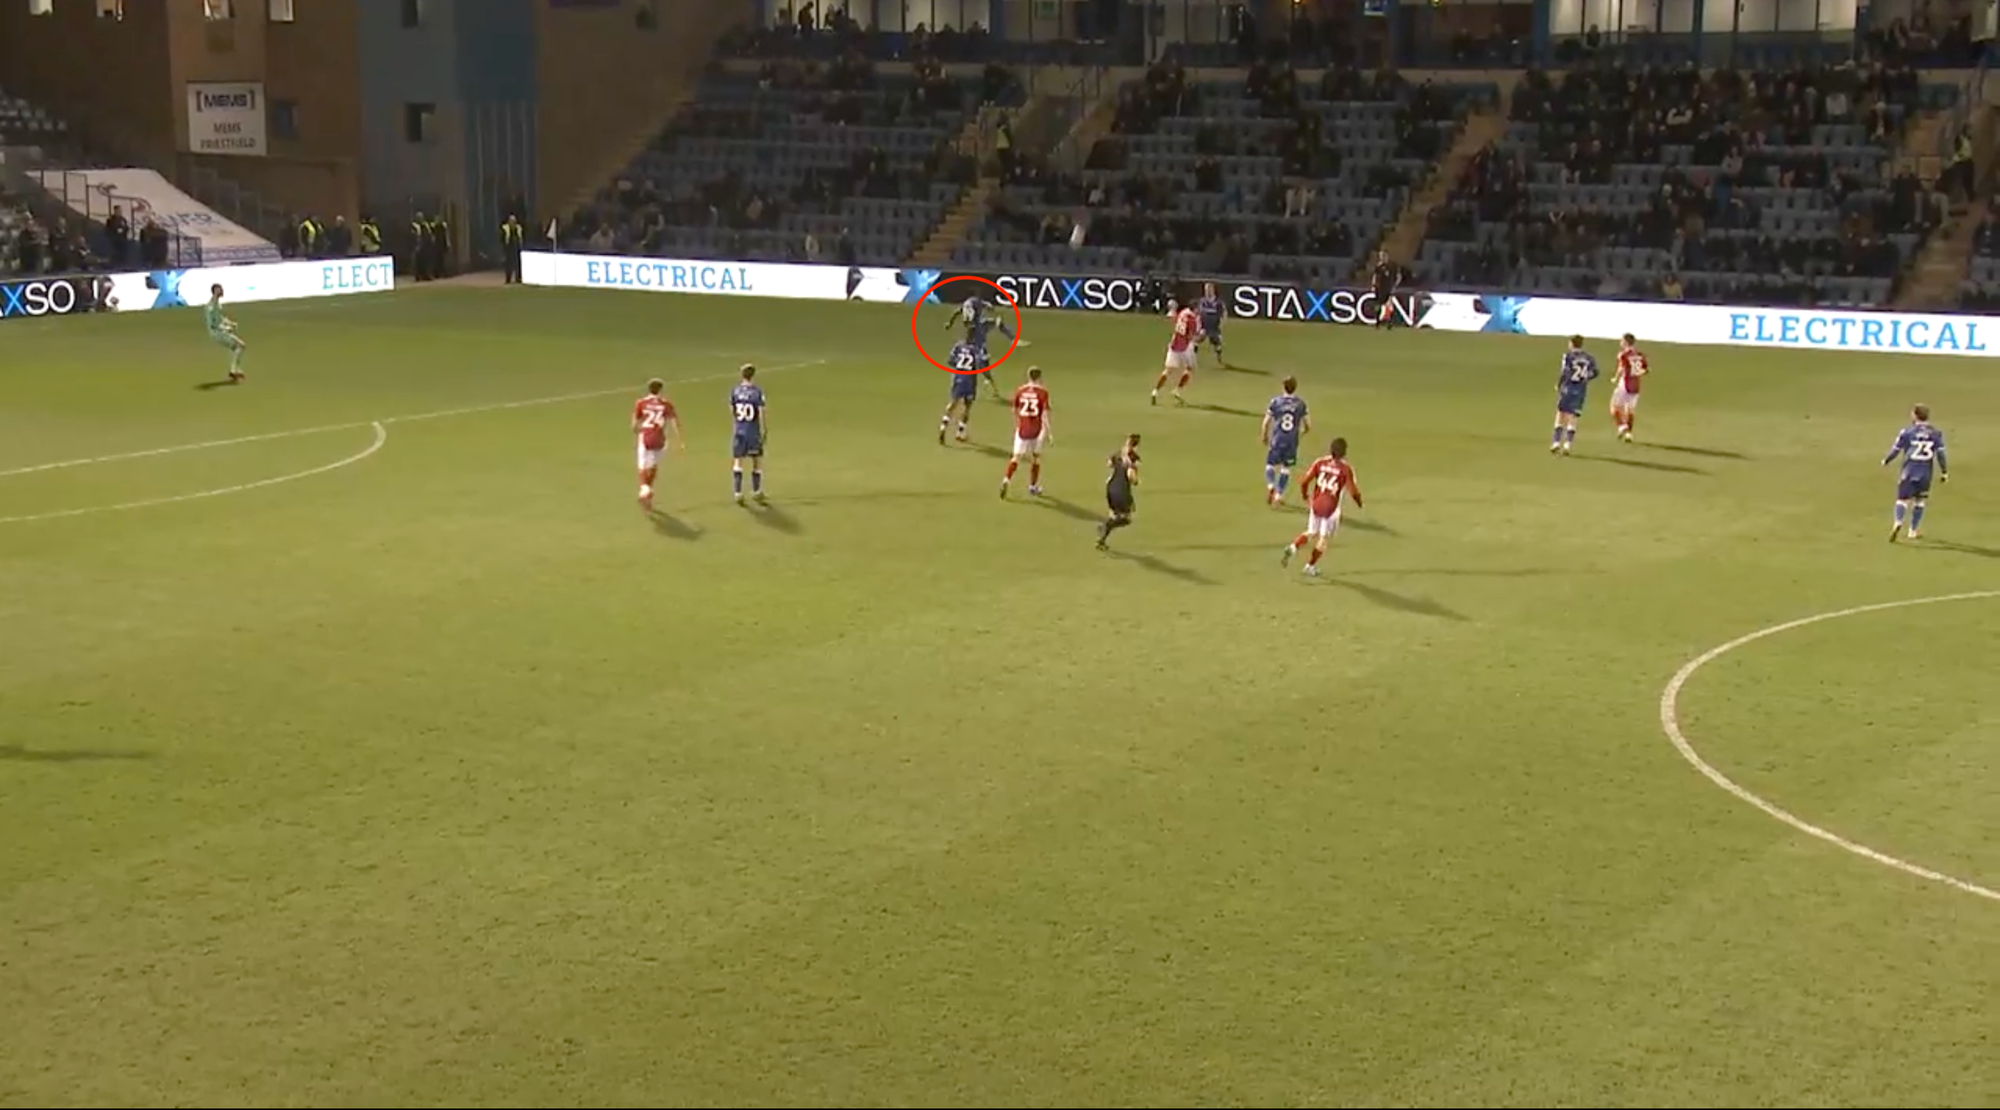
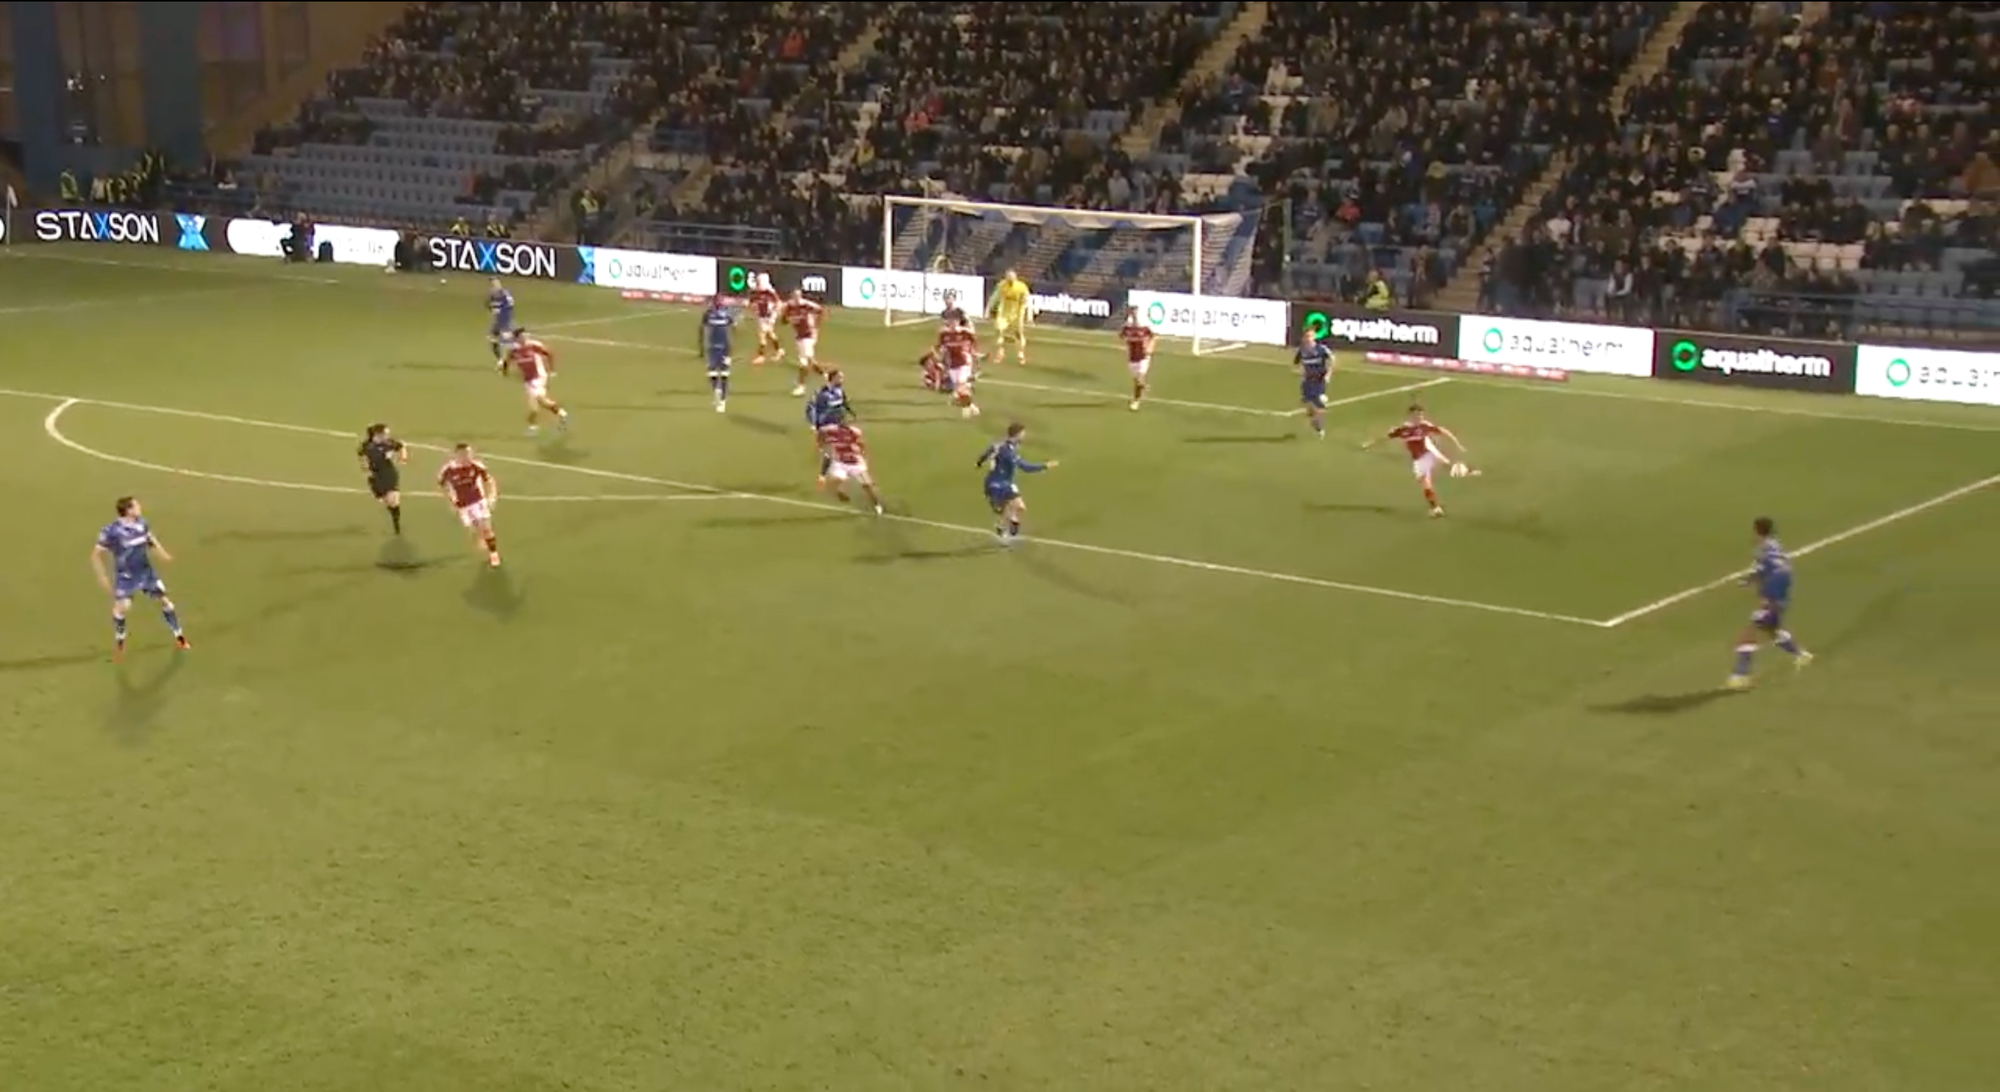
B. Central attacking play into Andrews: aerially predictable, but better below head height
The central direct pass into Andrews also appeared, which supports the original thought that Gillingham can use the striker as a reference point for longer passes forward. In the example below, Swindon deal with the long central pass by dropping off, allowing the flick-on, and then collecting the second ball. That mirrors the earlier idea that a team could defend this by protecting depth and being ready for the second action.
However, the evaluation also adds an important refinement: when Gillingham played into Andrews below head height, he was much more effective at keeping the ball.
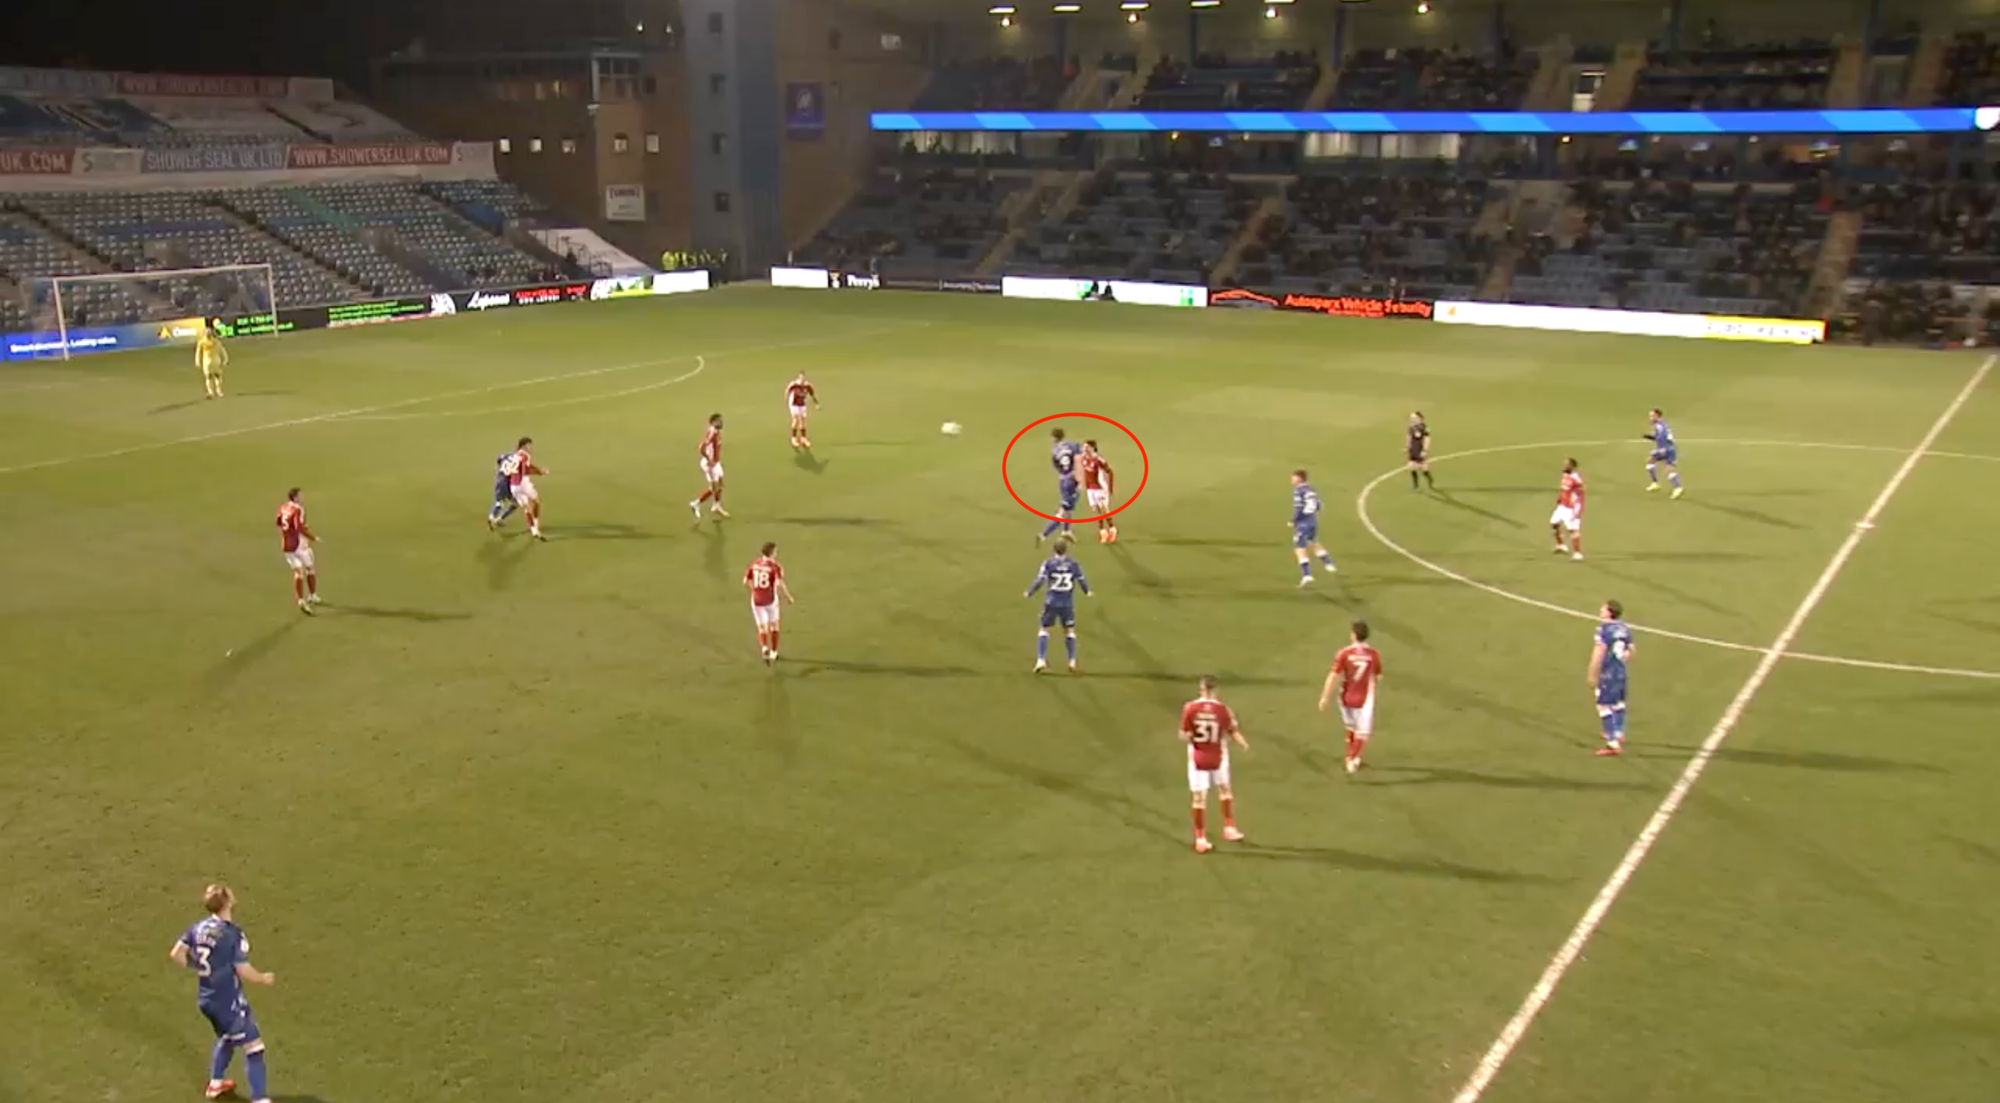
C. Transition risk exists, but the back-five structure can protect it
The original hypothesis suggested that Gillingham could be left exposed when their attacks broke down, especially from crosses. The match evidence supports the risk, but it also shows that the outcome can vary depending on Gillingham’s defensive structure at that moment.
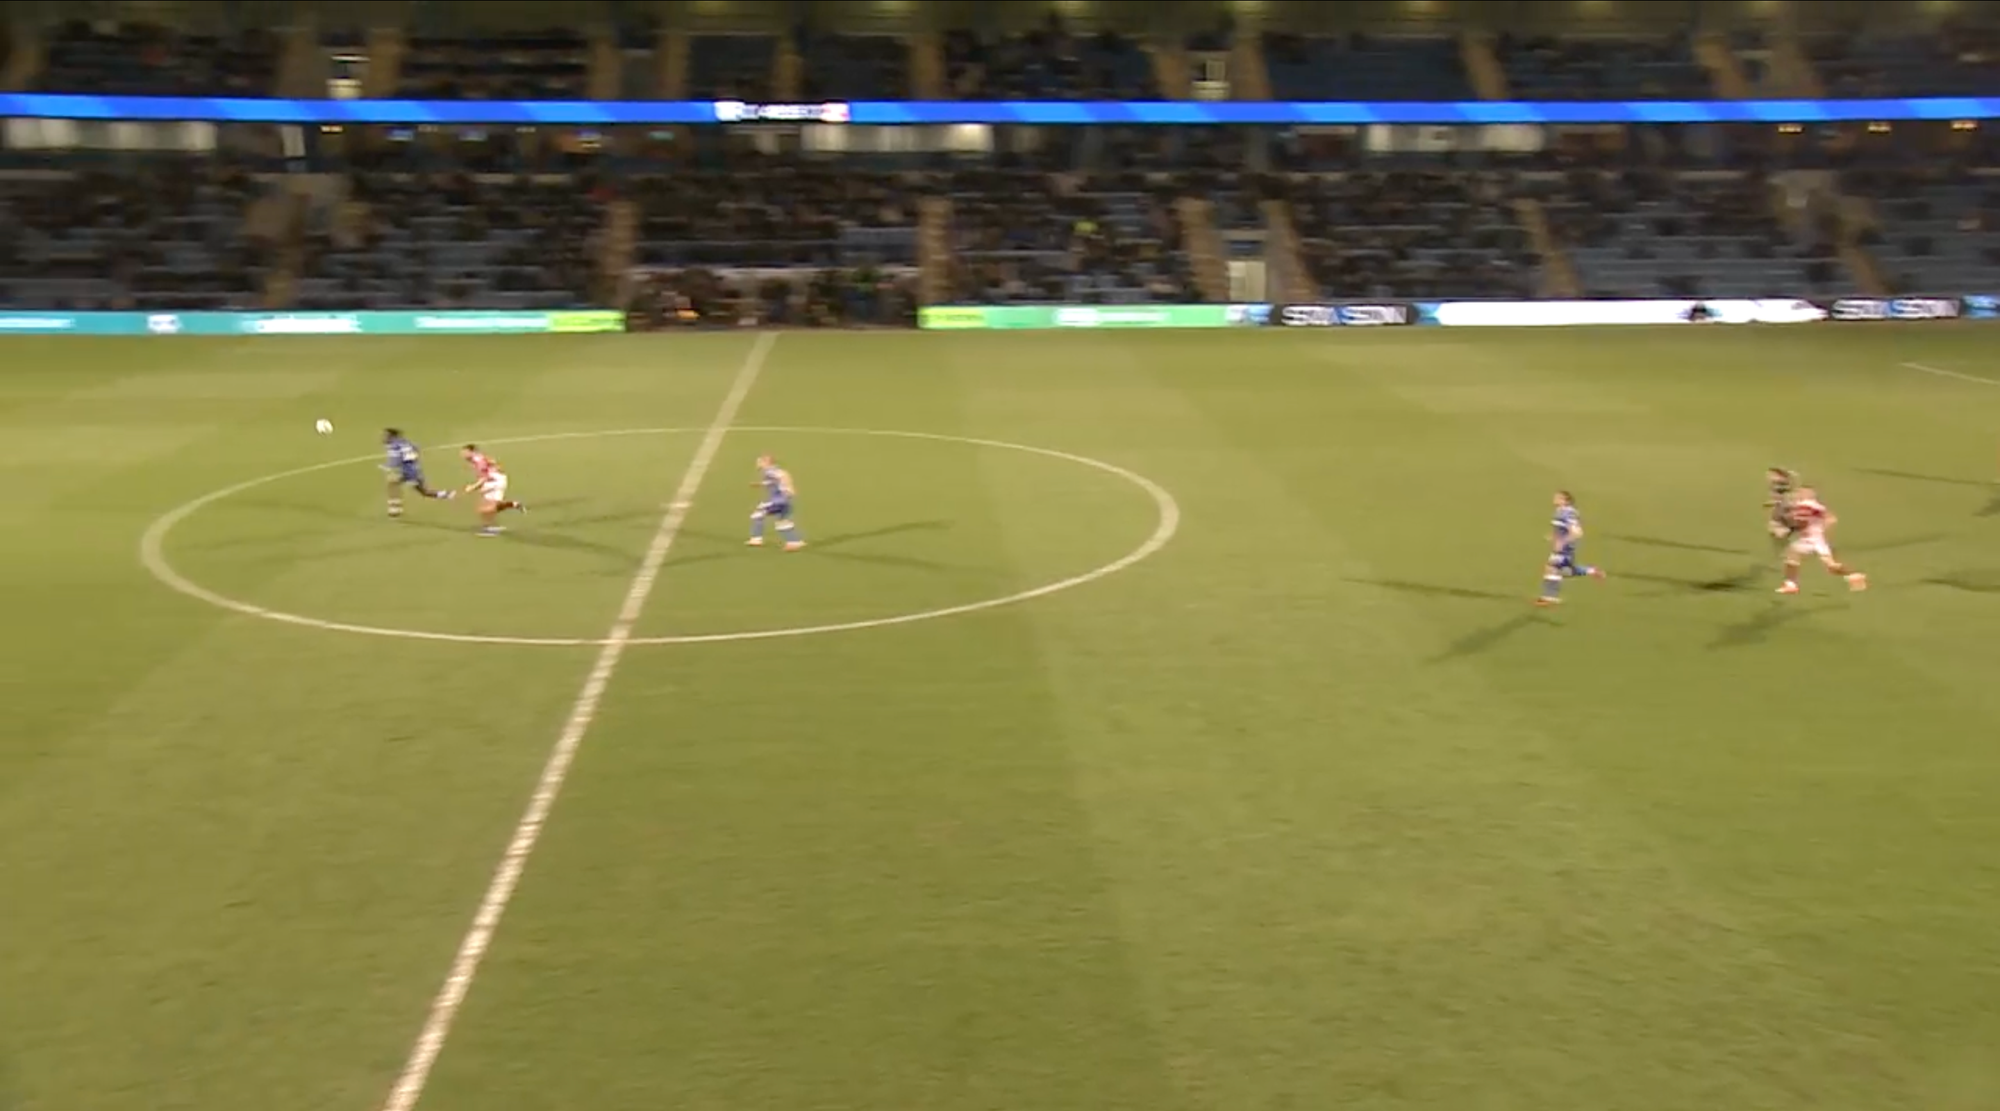
In the first example below, the concern is present in principle, but Gillingham recover into a 2v1 defensive situation rather than being left completely open. A likely reason is that the back-five structure gives them an extra recovering defender
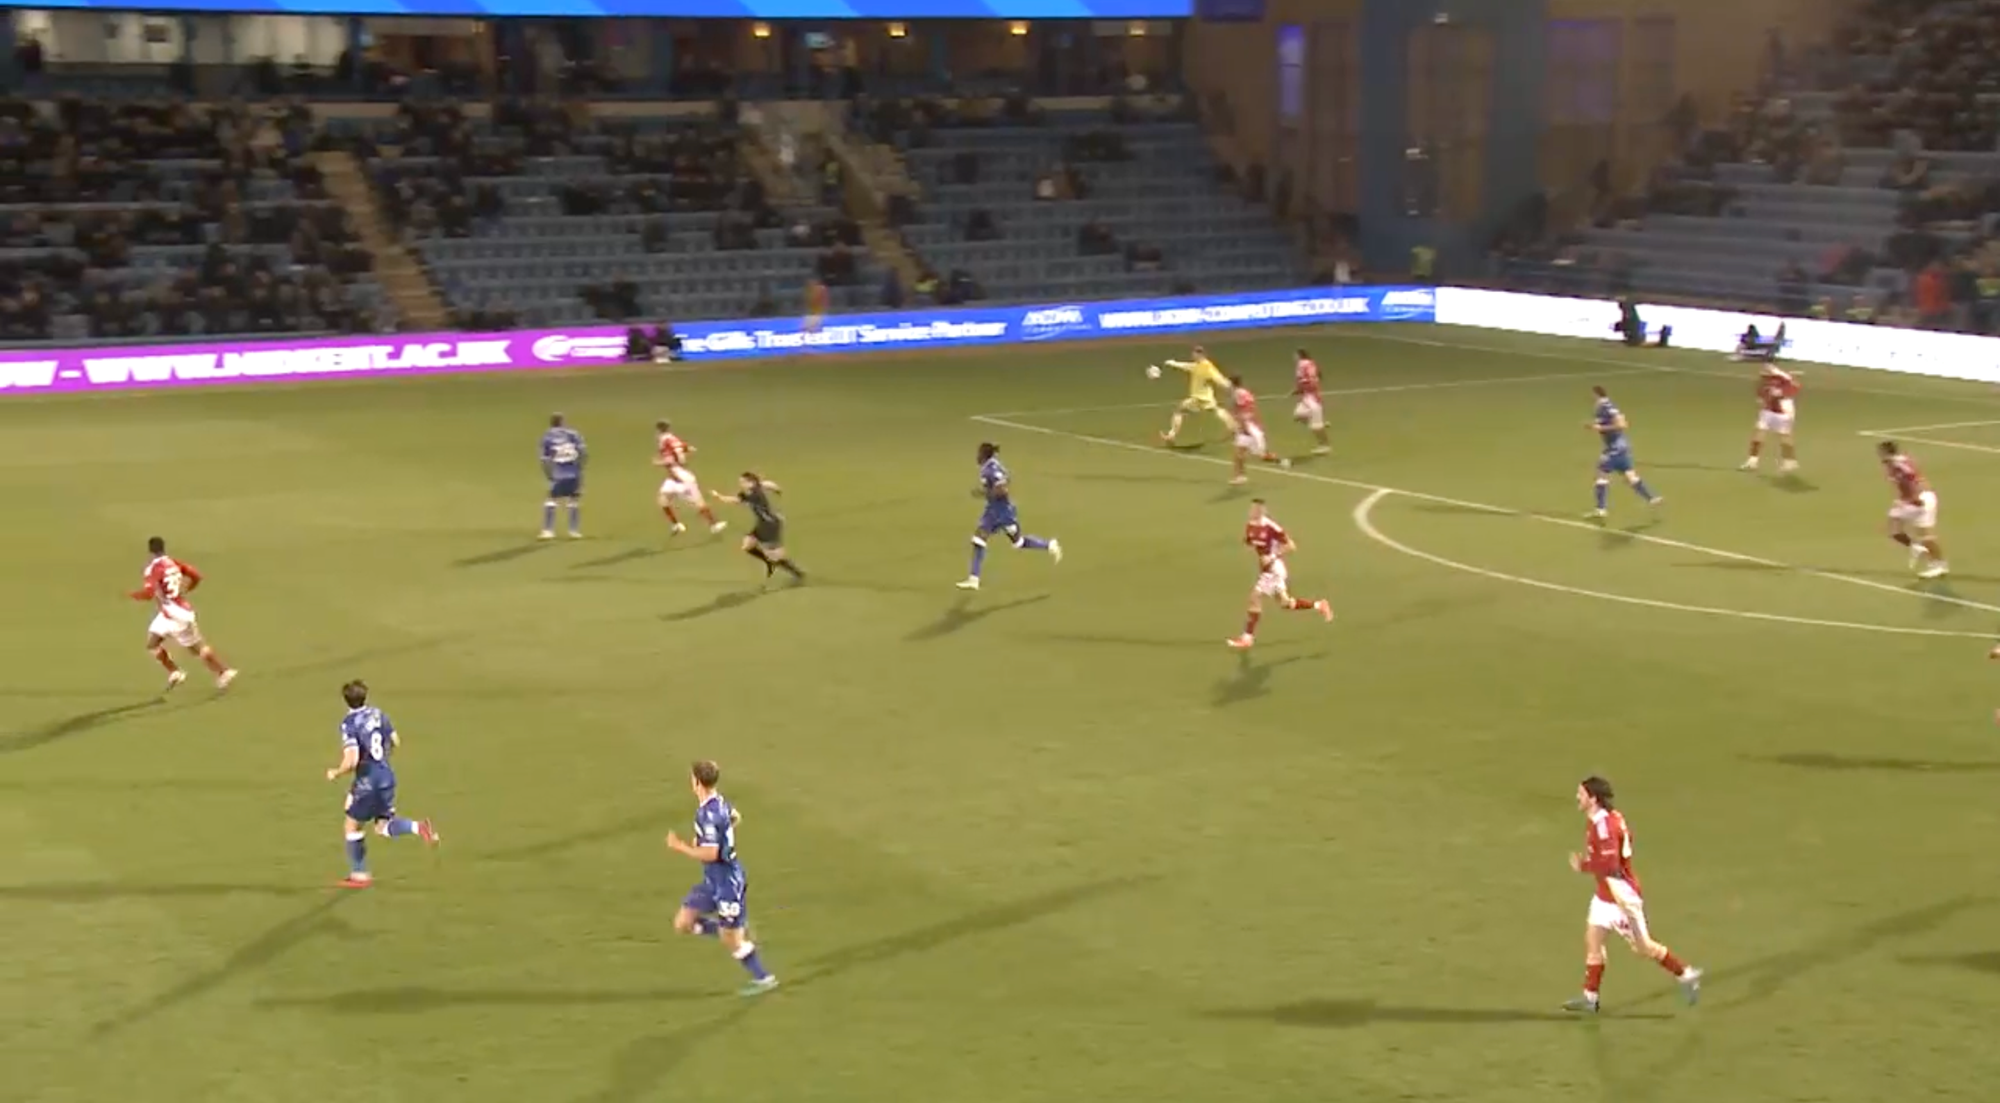
The second example still supports the broader transition concern. Here, the ball is cleared by an outfield player and the next action creates a potential attacking threat against the Gillingham back line. So the better conclusion is not “they are always 1v1 after their own attack,” but rather: there is still transition risk after their attacks, although their structure can sometimes protect it better than expected.
D. Vokes point remains unproven
The pre-match idea that Vokes might be too far away from the longer passes played from the right side remains without proper evidence. He entered the game late as a second-half substitute, which means there was not enough material to test that part of the hypothesis properly. The right conclusion is not to force an answer, but to carry it forward as a monitoring point for the next match.
E. Wide overload defending concern was not evident in this game
The original hypothesis suggested that Gillingham, by protecting central areas and forcing play wide, could become overloaded in wide zones and then be forced to defend entries into the box. In this match that did not happen.
A likely explanation is structural: Gillingham defended with a back five and also appeared to get support from a centre midfielder. That combination reduced the chance of being overloaded wide in this particular game. This part of the original hypothesis therefore needs to be monitored again rather than treated as a fixed truth.
F. Bradley Dack: deeper involvement, but greater danger when higher
The match supported the view that Bradley Dack often operates deep in an attempt to influence the game more directly. There was a notable example on free kicks where he looked to restart quickly and try to pass to Ronan Hale who was often in a position to expose space behind Swindon’s back line. That shows that, even from deeper positions, he can still help accelerate attacks.
But the broader point still stands: his most obvious attacking quality appears when he gets higher. His clever volley from the edge of the area, which narrowly missed, was a reminder of his threat closer to goal. So the hypothesis should be refined to say: Dack may drop deep to help the team, but he remains more dangerous when he arrives or operates higher up the pitch.
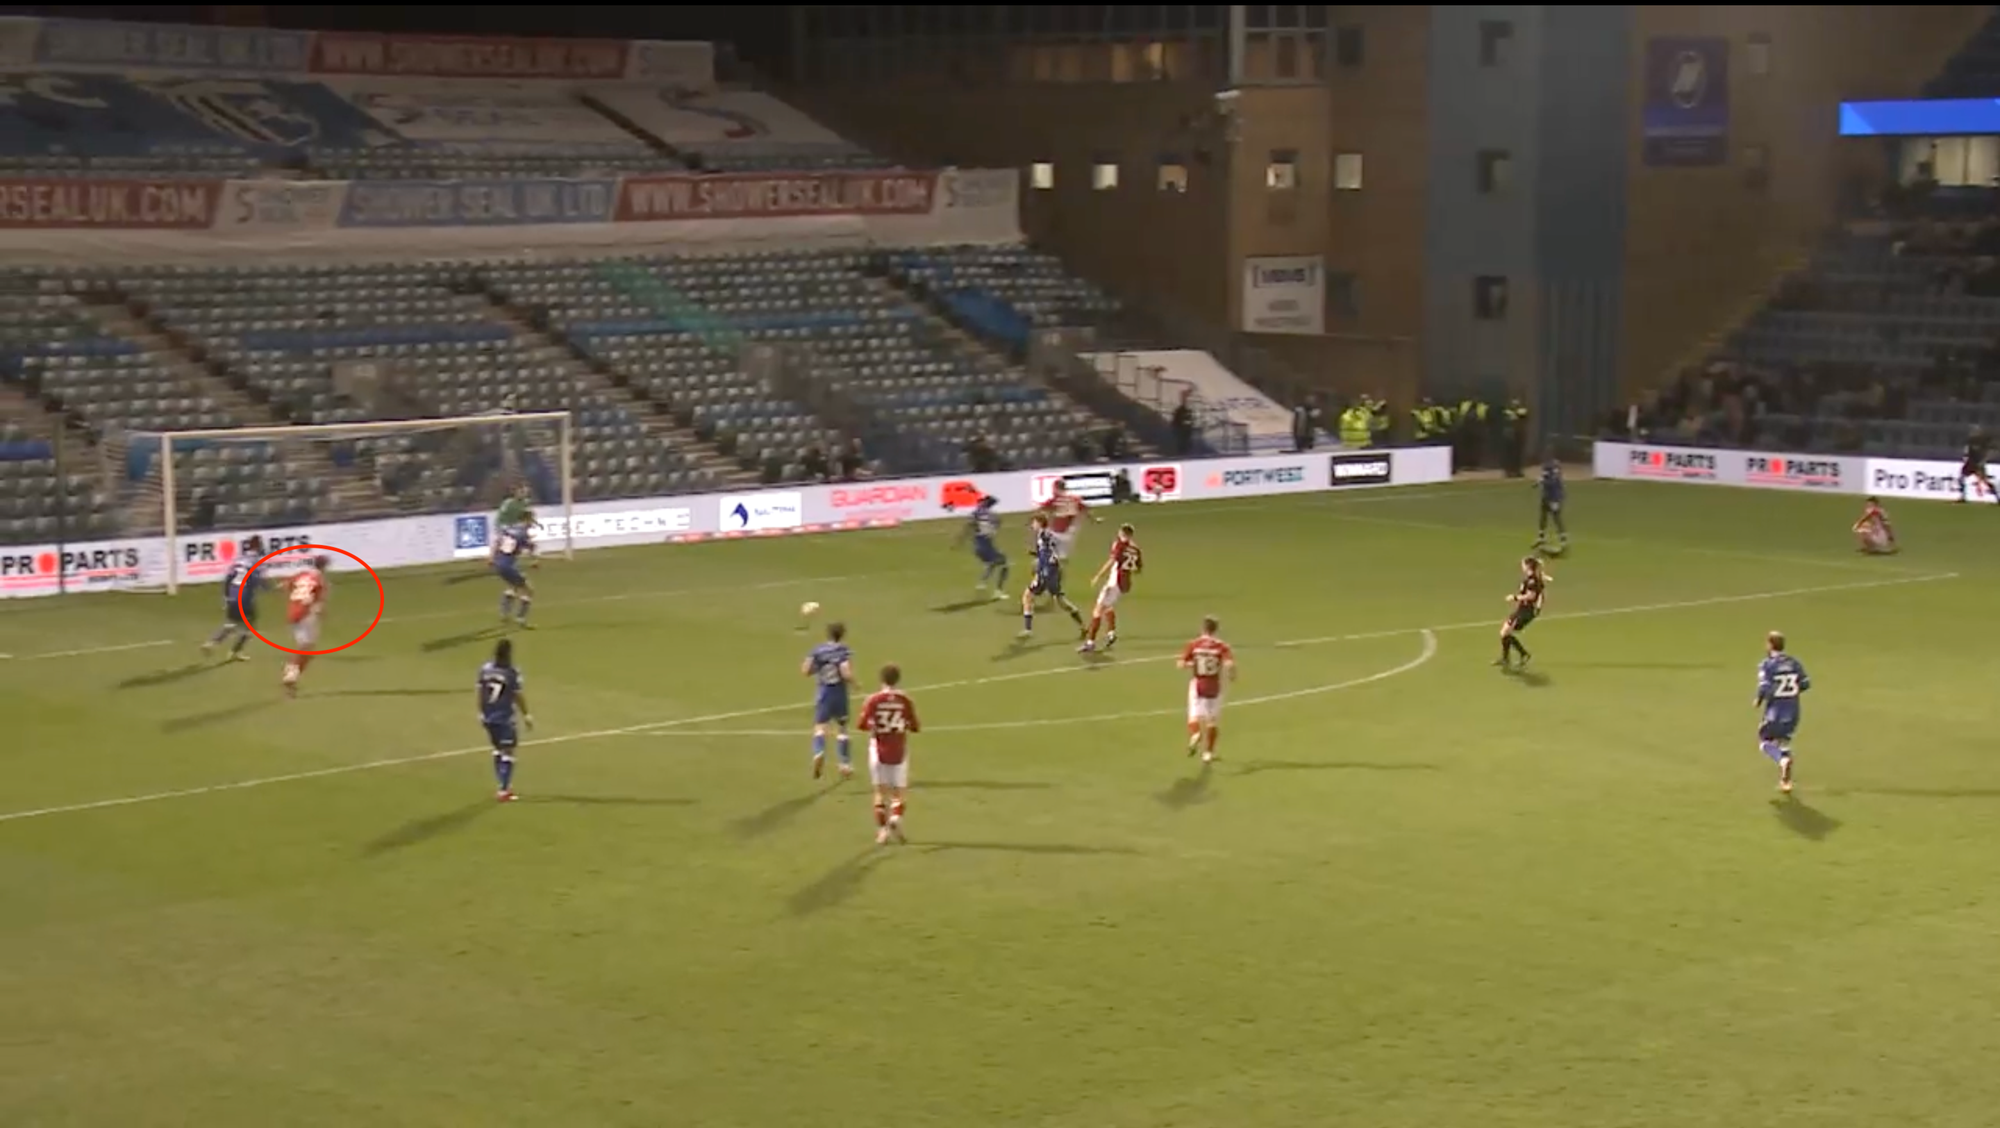
G. Defending the box remains a concern
This part of the original hypothesis was supported. Gillingham again showed a problem defending their penalty area, and the second goal provides a clear example. Swindon forward Holman is left free inside the box and scores, highlighting a possible issue to maintain marking direct opponents.
Updated Hypothesis for the Next Game
Based on the original hypothesis, the match evidence, and the evaluation above, the next version should read as follows:
Long passes early remain a key pattern. Gillingham are willing to play forward quickly even with little pressure on the ball. The exact Team Intention remains unclear.
The effectiveness of the striker depends heavily on the type of service. Andrews can be managed on aerial service if the defensive line drops and the second ball is protected, but he is more effective when the ball arrives below head height and he can secure possession.
The Vokes point is still open. There is not yet enough evidence to confirm whether he is too far away from the right-sided longer pass pattern, so this should be monitored in the next game rather than concluded now.
Crossing and set plays must be treated as major attacking strengths. Corners, long throws from both sides, and repeated high-volume crossing all need to be in the next opposition brief.
Ronan Hale is a key individual threat. From the left side he can attack in two ways: by running in behind the opposition back line or by cutting inside onto his right foot to shoot.
Bradley Dack remains their most important connector. He may drop deep to influence play, but he is still more dangerous when higher and closer to the final action.
Transition moments still require monitoring. Gillingham can be exposed when their attacks break down, especially after crosses and clearances, but the back-five structure can sometimes protect them better than expected. It will be interesting to see what happens next time they play with 4 defenders.
Wide overloads should be treated with caution rather than certainty. They were not a major issue in this game, likely because of the back-five structure plus midfield support.
Own penalty box defending remains a concern, notably around Gillingham players being able to maintain marking direct opponents from crosses and set plays.
In order to prepare for the next opponent, or an upcoming opponent, it could be suggested that to create a hypothesis, the coach should watch some recent games and create a hypothesis. One week before the game against this opponent, the hypothesis could be tested to check what is potentially correct (by watching the opponents game) and what isn't. Then the real test of the hypothesis, and the team preparation for the game, will be the game itself. That way the coach can evaluate everything properly, as there are references available to check if the preparation was correct. Or we can just blame the players if things don't go to plan?!